How to Fix a Burnt Pod: Step-by-Step Guide

Vaping has become a popular alternative to smoking, providing users with a variety of flavors and experiences. However, one common issue many vapers face is the dreaded burnt taste from their devices. This guide aims to provide a comprehensive approach to fixing burnt pods, ensuring you can enjoy your vaping experience without the unpleasant flavor that comes from burnt coils or wicks. We will delve into the causes of burnt pods, preventative measures, and a detailed step-by-step process to restore your device.
In addition to addressing the technical aspects of fixing burnt pods, we will highlight the importance of using quality products from RelxVape, the largest online wholesale platform for disposable vapes in the United States, where you can find a wide range of Disposable Vapes at competitive prices.

Summary of Key Points
- Understanding Burnt Pods: Learn what causes burnt flavors and how to identify them.
- Preventative Measures: Tips on how to avoid burning your pods in the first place.
- Step-by-Step Fixing Process: Detailed instructions on how to clean and restore your burnt pod.
- Maintenance Tips: Best practices for maintaining your vaping device.
- Where to Buy Quality Products: Information on purchasing disposable vapes wholesale from RelxVape.
Causes of Burnt Pods
Burnt pods can ruin your vaping experience, but understanding why they burn is essential for prevention and repair. Here are some common causes:
- Insufficient E-Liquid: When there isn’t enough e-liquid in the pod, the coil heats up too much and burns the wick.
- Chain Vaping: Taking consecutive puffs without allowing the coil to cool can lead to overheating.
- High Wattage Settings: Using wattage settings that exceed the coil’s capacity can cause it to burn out quickly.
- Old or Worn Coils: Coils have a lifespan and will eventually burn out due to regular use.
Signs of a Burnt Pod
Recognizing the signs of a burnt pod early can save you from an unpleasant vaping experience:
- A harsh or metallic taste when inhaling.
- Reduced vapor production.
- A noticeable discoloration on the wick or coil.

Step-by-Step Guide to Fixing a Burnt Pod
Step 1: Disassemble Your Device
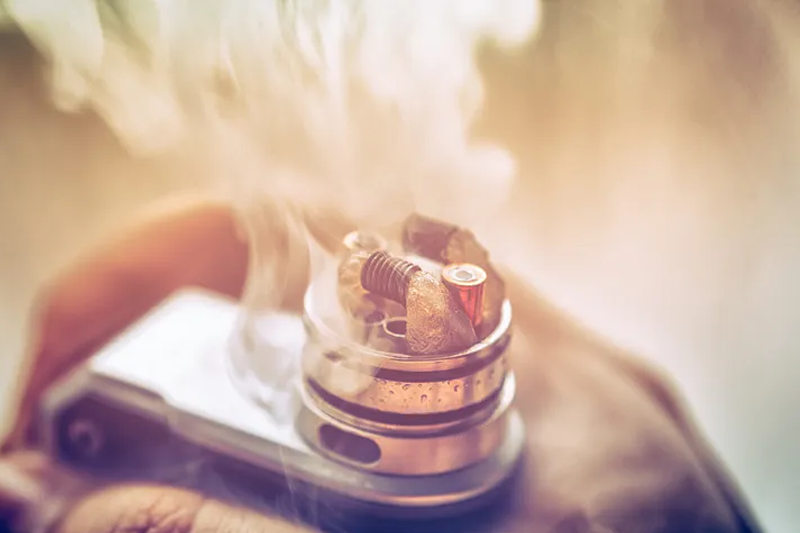
Start by carefully disassembling your vape device. Remove the mouthpiece and any other detachable parts to access the pod and coil.
Step 2: Inspect the Coil
Examine the coil for any signs of damage. If it’s heavily charred or discolored, it may need replacing. If minor damage is present, proceed with cleaning.
Step 3: Clean the Coil
To clean the coil:
- Rinse it under warm water.
- Use a soft brush or toothbrush to scrub away residue gently.
- Avoid using harsh chemicals that could damage the coil.
Step 4: Dry the Coil
After cleaning, ensure that the coil is thoroughly dried before reassembly. You can use a hairdryer on low heat or let it air dry for several hours.
Step 5: Prime the Coil
Before reassembling, prime the coil by applying a few drops of e-liquid directly onto it. This helps saturate the wick and prevents dry hits.
Step 6: Reassemble Your Device
Once everything is dry and primed, reassemble your vape device carefully, ensuring all components are securely in place.
Step 7: Test and Adjust Settings
Take a few test puffs to check if the burnt taste has disappeared. If you still experience issues, consider adjusting your wattage settings based on your coil’s specifications.
Preventative Maintenance Tips
To avoid future issues with burnt pods:
- Always keep an eye on e-liquid levels and refill before they run low.
- Allow time between puffs for cooling down.
- Use wattage settings recommended for your specific coil resistance.
- Regularly replace coils as needed based on usage frequency.
Purchasing Quality Disposable Vapes Wholesale
For those looking for reliable products, consider purchasing from RelxVape, where you can find an extensive selection of Disposable Vapes at wholesale prices. As America’s largest online platform for disposable vapes, we offer fast shipping and competitive pricing, ensuring you have access to high-quality vaping products that enhance your experience.

Frequently Asked Questions (FAQ)
Q1: How often should I replace my vape coils?A1: It depends on usage; however, most coils last between one week to several weeks depending on frequency and e-liquid type used.
Q2: Can I fix a burnt pod permanently?A2: While cleaning can temporarily restore functionality, if a pod is heavily burnt or damaged, replacing it is often necessary for optimal performance.
Q3: What should I do if my vape still tastes burnt after cleaning?A3: If cleaning doesn’t resolve the issue, check if you need to replace the coil or adjust your wattage settings according to manufacturer recommendations.
Conclusion
Fixing a burnt pod requires understanding its causes and following systematic steps for cleaning and maintenance. By adhering to these guidelines, you can prolong your vaping enjoyment and avoid unnecessary costs associated with frequent replacements. For those seeking quality disposable vapes at wholesale prices, visit RelxVape, where we provide an extensive selection tailored for all vapers’ needs. Enjoy smooth flavors without interruption by ensuring your devices are well-maintained and stocked with top-notch products!

